How to Install Headlight Bulbs [Step by Step]
Driving with a bad headlight can make it hard to see at night on very dark roads. In most states, it can get you a ticket and land you in lots of trouble with the authorities. Fortunately, installing a new headlight bulb is a painless process.
It’s one of the easiest jobs you’ll ever do on your car. It allows you to repair your headlights quickly if one or both bulbs are burnt out. All you need to do is to confirm which of the headlights is out and get a new bulb.
As a rule of thumb, it’s always best to replace both headlight bulbs. When one goes out, the other is usually not that far off from burning out. The process described here works for both headlights. Here’s how to change your headlight bulbs.
How to install a headlight bulb
What you’ll need:
- New replacement headlight bulbs
- Alcohol wipes
- Flathead screwdriver
Step 1: Switch off the car
Start by switching off the engine. Remove the key from the ignition and move to the front of the car.
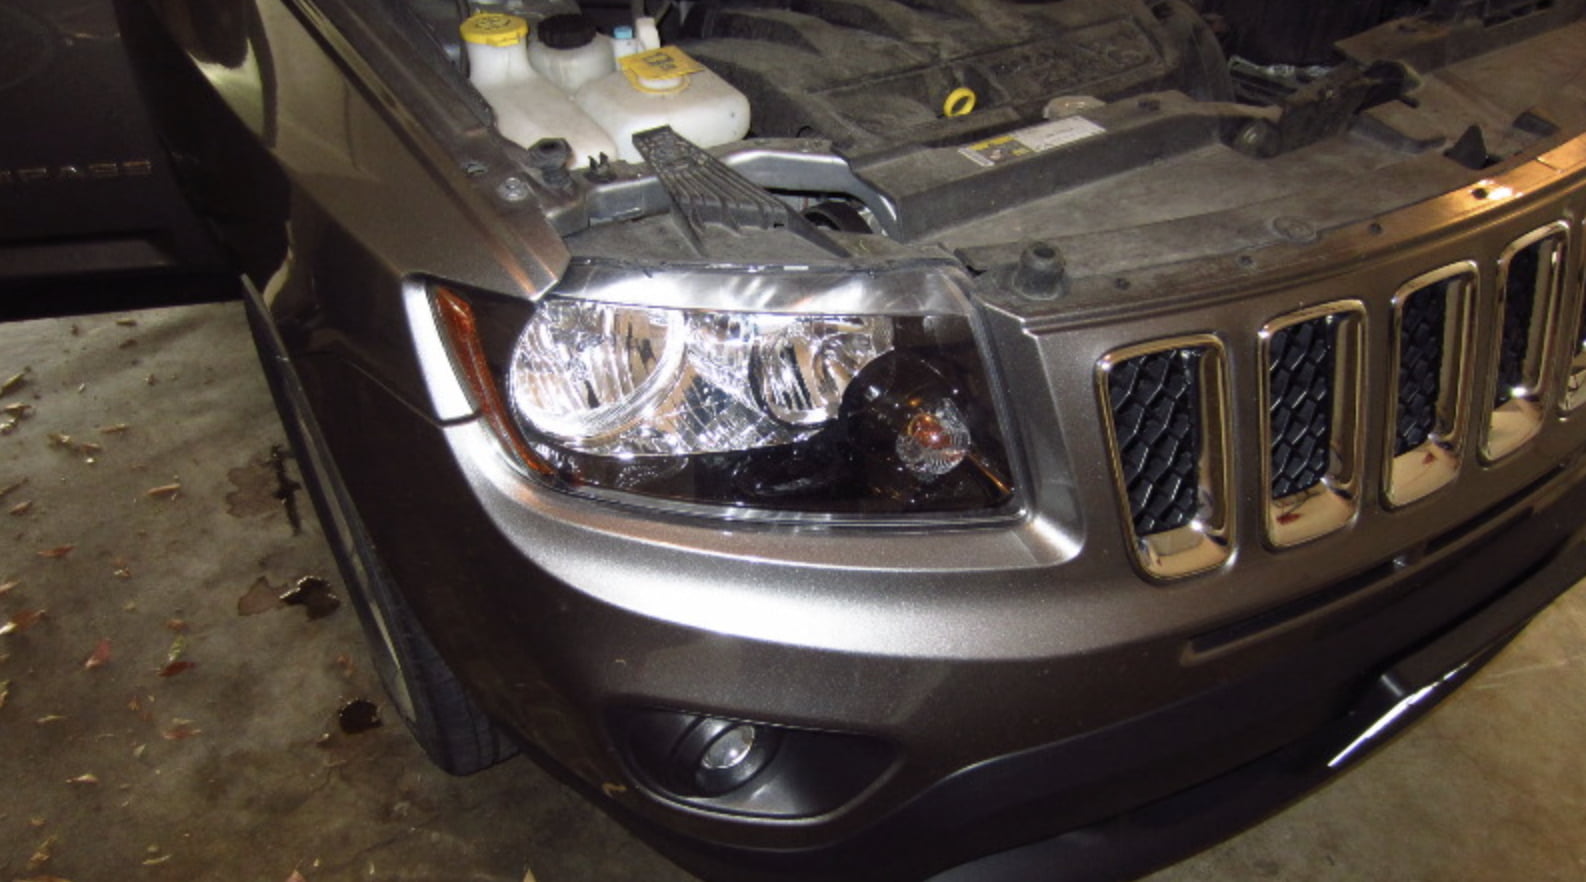
Step 2: Locate your headlight bulbs
Pop the hood and take a look to see if you can access the back of the headlight. For most cars, it’s easy to access the bulbs from the engine compartment.
For others, however, you’ll have to remove ancillary components such as the battery or remove the fender well. Consult your owner’s manual if you can’t access the back of your headlight.
Step 3: Disconnect the electrical connectors
Each bulb is connected to the power source by an electrical connector. The connector usually has three wires attached to it.
They protrude from the base of the bulb and can be traced all the way to the battery. Start by disconnecting the electrical connectors.
You’ll have to remove a cap, push down a clip, or press some small push buttons to release the connector. Use a screwdriver to push or unclip anything that is stuck.
Step 4: Remove your headlight bulbs
In some cars, the electrical connector comes out together with the bulb. In others, however, it comes out separately – leaving the bulb inside the headlight housing.
All you need to do is simply hold the base of the bulb and turn it anti-clockwise to release it. Be careful not to break any retaining clips or caps.
Take a good look at the bulb to see if there’s any information printed on it. This will tell you the type of replacement bulb you need.
Confirm that your new bulb matches the old one. Installing the wrong bulb can cause damage to the wiring or power source. Your headlights may also fail to function.
Step 5: Install the new bulb
Once you’ve removed the new bulb from its packaging, clean it using some alcohol and tissue. This helps to remove dirt and contaminants that may be stuck on the lens.
Avoid touching the bulb with bare fingers as the oils from your hands will cause it to fail prematurely. When the bulb gets hot, these oils tend to melt and ruin the lens.
Once the bulb is clean, install it where the old bulb was. Simply insert it into its location and turn it clockwise to secure it. Connect the electrical connector to send power to it.
Step 6: Test your headlights
Hop back into your car and switch on the engine. Turn on your headlights to confirm that the new bulb works. If all is well, replace the other bulb in the second headlight.
If your headlight does not turn on when you switch it on, there could be a problem with the electrical wiring or the fuse. You’ll need to check the two.
Start by checking if the wires are broken or corroded at any point. You may be able to spot signs of chewing, indicating that there may be rodents causing mayhem to your car.
If the wiring looks okay, check the fuse connected to your headlights. Access the fuse box from under the hood or within your vehicle’s dashboard.
Flip the fuse box cover for a chart that will help you identify the fuse. Simply remove it and check for burnt marks or any signs of damage. If the fuse is damaged, you’ll need to replace it.
How to install tail light bulbs
Tail lights are the lights located at the back of your car. They include the brake lights, reverse lights, and rear signal or indicator lights. Replacing your tail light bulbs is almost similar to replacing your headlight bulbs.
For some vehicles, you can gain access to the bulb by unscrewing the bolts that hold the tail light housing. The screws are typically visible from the outside.
However, other vehicles may require you to unscrew the tail light assemblies from inside the trunk. Once you get to the bulb, you may also have to remove screws, clips, or tabs that hold it in place.
Be careful not to lose any of these small pieces. The good news is that you will not have to remove the electrical connectors when changing your tail light bulbs.
Gently turn the bulb anti-clockwise or unscrew it from its position to release it. Do not yank it or pull the housing too far. You may rip some of the wires.
Simply replace the old bulb with the new one and test your tail lights. Switch on the engine and step on the brakes. Set the car to park as well and activate your turn signals.
Have someone confirm for you that they are working. If they aren’t work, you’ll need to inspect the wiring and the fuses.
Conclusion
There are several reasons why headlight bulbs go out. It could be due to wear and tear as a result of old age, exposure to extreme temperatures, or contamination by moisture. Some headlights simply turn dull due to oxidation.
All in all, it’s good to know how to change and install your headlight bulbs when they burn out. It saves you money and time that would be otherwise spent going to a mechanic. It also allows you to remedy the problem as quickly as possible.
Recent Blog Posts
November 29, 2022
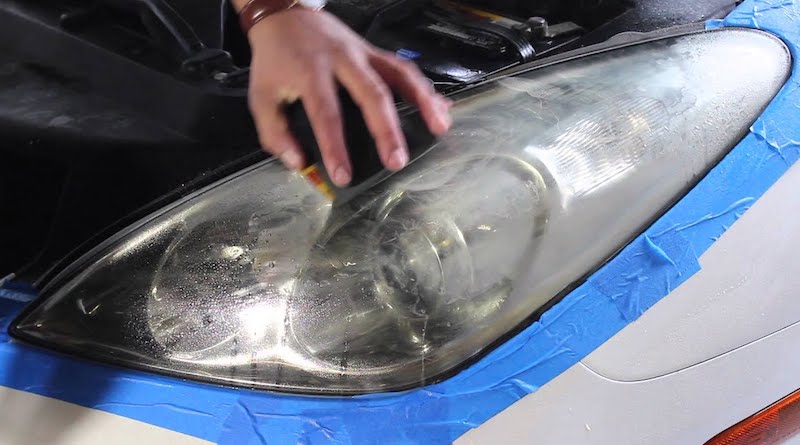
One of the best solutions for fixing hazy headlights is to wet sand them. While there are other ways you can clear up your oxidized headlights, few methods work as great as wet sanding. It not only cleans the plastic lens completely but also achieves permanent results.
November 29, 2022
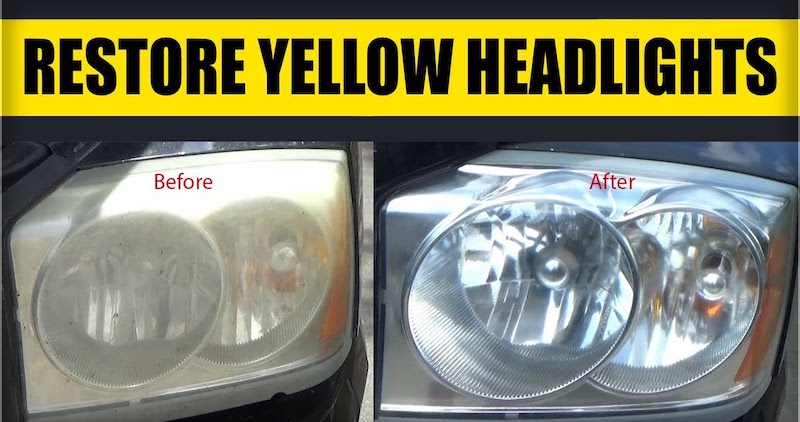
Headlights that have turned yellow can make a car look really old. The foggy coating that covers the headlight tends to reduce the amount of light emitted on the road. This can affect the driver’s visibility and make it hard to maneuver dark roads.
November 29, 2022
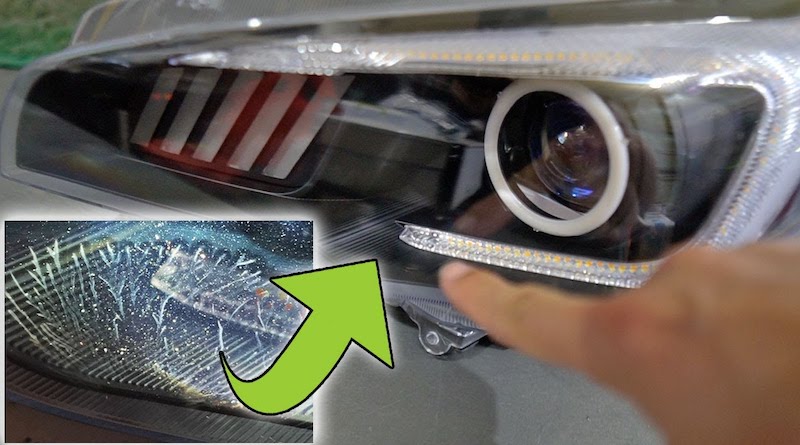
There are plenty of solutions out there when it comes to cleaning the outside of your headlights. You can easily remove the yellow coating that forms on the plastic lens using a few household products.