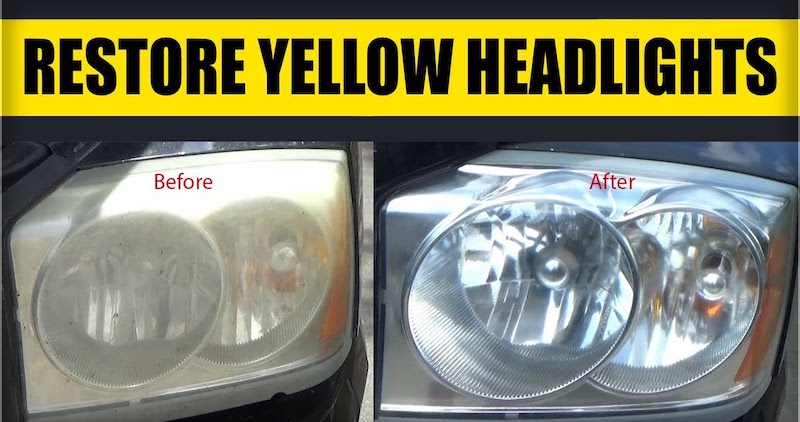
How to Wet Sand Headlights
One of the best solutions for fixing hazy headlights is to wet sand them. While there are other ways you can clear up your oxidized headlights, few methods work as great as wet sanding. It not only cleans the plastic lens completely but also achieves permanent results.
In this guide, we’ll go through a step-by-step process on how to wet sand your headlights. This will allow for more illumination at night and improve your driving safety overall. You’ll need a few items and about 2-3 hours of your time.
How to Wet Sand Headlights
What you’ll need:
- Mask
- Gloves
- Goggles
- Microfiber towels
- Painter’s tape
- 600, 1000 and 2500 grit sandpaper
- Spray bottle with water
- Car soap
- Polishing compound
- Drill with compound pad
- Isopropyl alcohol
- UV coating
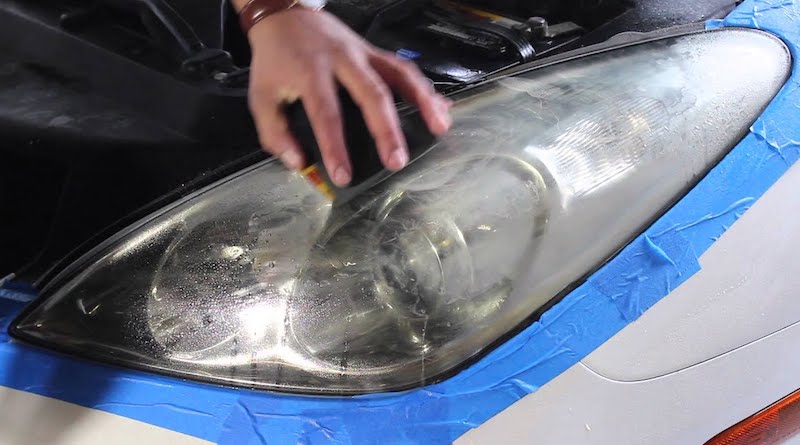
Step 1: Tape off the area surrounding your headlights
Start by taping off the edges on both headlights using painter’s tape. This prevents the sandpaper from making contact with your car’s paintjob and ruining it. Wear your mask, gloves, and goggles before moving to the next step.
Step 2: Start with dry sanding
Dry sand the first headlight with 600-grit sandpaper. Some people recommend going straight into wet sanding. However, dry sanding allows you to remove the UV coating that comes from the factory.
The coating is designed to protect your headlights from UV rays. As the car gets older, it burns up under the sun and turns yellow. This causes your headlights to fade and appear foggy. Dry sanding helps to remove it and any other contaminants on the surface.
Move the sandpaper horizontally from left to right. Apply moderate pressure to prevent heating up the plastic too much. Make sure you have your mask and goggles on as dry sanding causes a lot of dust to fly around. Rinse off the dust with some water once done.
Step 3: Wet sand the headlights
Spray some water on your 1,000-grit sandpaper and on the headlight as well. You can put a bit of car soap inside the water bottle for better lubrication.
For this step, work in the opposite direction while wet sanding the headlight. Dry sanding removes big scratches but creates smaller ones. Working from right to left here helps to remove the scratches.
Spray some water on the headlight and sandpaper in between the sanding to remove the milky white liquid. Continue wet sanding until you achieve a clear surface.
Move to 2,500-grit sandpaper once you’re done with the 1,000-grit sandpaper. Follow the same steps and make sure the headlight is wet when working. Rinse and dry the headlight once done.
Step 4: Apply polishing compound
Apply a decent amount of polishing compound on the headlight evenly. Make sure you’ve covered the whole plastic lens.
You can attach a compound pad to your drill first then use the pad to apply compound polish on the headlight without turning on the drill.
This prevents the compound from splattering when you’re working. Turn on the grill and start polishing. Move slowly until the compound covers the headlight substantially.
Set it to full speed and continue working on the headlight. This step helps to remove the scratches caused by the 2,500-grit sandpaper. Wipe down the compound with a microfiber towel once done.
Step 5: Apply polish
The next step is to apply polish on your headlight. This helps to smoothen out the surface further and remove any small scratches caused by the polishing compound.
You can opt for a product that is specifically designed to remove light scratches on plastics. All you need to do is apply some polish on a clean pad and wipe the headlight down. The lens should have cleared up by now.
Step 6: Clean the headlight with isopropyl alcohol
Pour a bit of the isopropyl alcohol onto a clean microfiber towel and use it to wipe down your headlights. This helps to remove any polishing compound or polish that may still be on the lens.
If you like, you can take this opportunity to wash the car. Evaluate the work you have done. You should have achieved satisfactory results depending on how well you did the sanding.
If there are any scratches left on the headlight, use the polishing compound left to remove them. Follow the same steps provided until you’re satisfied with the final product.
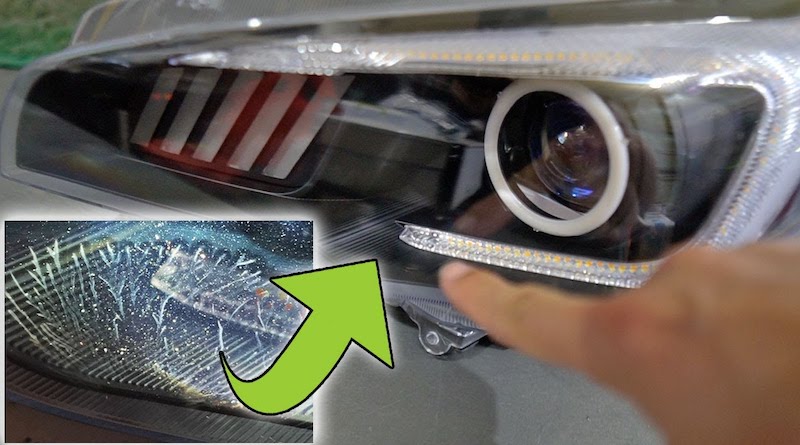
Step 7: Apply UV coating
There are different types of UV coating available on the market. Any form of UV protectant will work for your headlights. Finish by applying your UV coating in vertical movement.
Start from the top of the headlight going to the bottom. Apply thin coats evenly and make sure the solution does not run. Light coats prevent dry beads from forming.
If you make a mistake or are not satisfied with the result, use the isopropyl alcohol to remove the coating and re-apply. Allow it to dry for about 30 minutes.
Do not touch the headlight during this time. The coat helps to shine the headlights and protect them from harmful UV rays. With this, you’ll have successfully fixed your yellow headlights.
What causes foggy headlights?
Foggy headlights are mainly caused by 4 things: oxidation, harsh weather conditions, water vapor, and contaminants encountered on the road.
Oxidation: This occurs due to a reaction between the polycarbonate plastic headlight and UV rays from the sun. The plastic develops microscopic cracks that eventually cause discoloration.
Weather conditions: The protective film that is applied on your headlights from the factory eventually peels off due to exposure to harsh weather elements. This leaves the plastic lens vulnerable to yellowing.
Water vapor: Water vapor that finds its way inside your headlights can also cause them to appear foggy. This can be fixed by applying a headlight sealant.
Contaminants: Dirt and chemicals encountered on the road also cause headlights to turn yellow.
Conclusion
Knowing how to wet sand your headlights can really help improve their performance. It removes the oxidation that causes your headlights to look foggy and hazy. It’s one of the best solutions if you want to achieve permanent results. It can add years to your headlights when done correctly.
Recent Blog Posts
November 29, 2022
One of the best solutions for fixing hazy headlights is to wet sand them. While there are other ways you can clear up your oxidized headlights, few methods work as great as wet sanding. It not only cleans the plastic lens completely but also achieves permanent results.
November 29, 2022
Headlights that have turned yellow can make a car look really old. The foggy coating that covers the headlight tends to reduce the amount of light emitted on the road. This can affect the driver’s visibility and make it hard to maneuver dark roads.
November 29, 2022
There are plenty of solutions out there when it comes to cleaning the outside of your headlights. You can easily remove the yellow coating that forms on the plastic lens using a few household products.